DIY-Upolstered Box
I know what you are thinking. Yes, I am blogging about a box. This is the easiest, but most useful, DIY I have ever done.
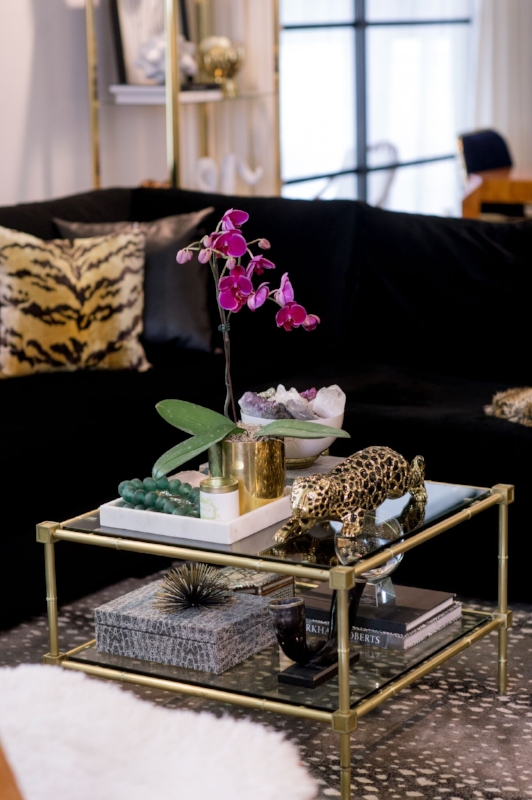
About 5 years ago, I was viewing a room tour on a blog. The coffee table had this beautiful snakeskin box which housed all of their ugly remote controls. I do not recall where the box was from, but I do remember it had a lot of zeros in the price tag. Paying that much for a box was not in my budget. (Similar dreamy box below)

I spent countless hours searching online for a look-a-like but was unsuccessful in my hunt.
I decided I would make my own. I went to my local fabric store and found a remnant of a faux snakeskin for a few dollars. I picked up a few other items and in a short period of time, I had a budget friendly solution for our coffee table and many years later, it's still in use, holding and hiding all of our remotes, matches, and other knick knacks!

Just think about it, you could make ANY style box you wanted. Malachite? Done. Floral? No problem! Leopard print? You got it! With just a few item and less than an hour, you can make a box of your own.
THINGS YOU WILL NEED:
- Box. Pick your size. I used this one from Amazon. This was the perfect size to hold remotes and other items. It also has hinges which I like.
- Hot glue gun/glue or glue of you choice
- Scissors
- Fabric of your choice. Size dependent of the size of box. I am using a remnant of Designer's Guild-Orangerie.
- Felt (optional)

STEP ONE:
- Pick your fabric and cut to size ensuring you have enough fabric to fold over the sides (if your fabric has creases or wrinkles, I would recommend ironing these out before gluing for a cleaner finish.)
- Glue fabric to base and top and then the sides.

STEP TWO:
- Fold corners as pictured and cut off excess. I find this gives the corners a cleaner look with less fabric bulking.


STEP THREE
- Glue edges, sides,and clean up all the details with glue. This will vary for each person and his/her technique for gluing.

Complete all gluing to both the top and bottom of your box.

STEP FOUR:
Optional: Line the inside of the box with felt
As before, glue sections at a time and line the raw sides with felt.


Let's quickly add up the total cost:
- Fabric-remnant I had on hand
- Felt $0.50 (On sale at Joann's 4/$1.00)
- Glue-already owned it
- Scissors-already had these!
- Box-$14.54
TOTAL: $15.04
That's it guys! The box is super versatile and can be used to hide your remotes, as a jewelry box, or purely decoratively. It does take some time for the box to close properly (all that fabric makes it have a itsy bitsy gap). I would put a book or two on top for a day or so to help it close better.
Since this is my first DIY, I wanted to celebrate by hosting a **GIVEAWAY** of the Orangerie Box pictured above. Double click the picture on IG + Tag a friend who loves DIY and design and the winner will be chosen at random (shipping included!)
Happy DIYing!
xoxo
Saher